Keyframes in Alight Motion | Use Keyframes to Create Animations 2025
In today’s productive fields of video graphics and animation, standing out amid the growing popularity and fierce competition is challenging. Are you thriving to make your mark? It’s time to explore keyframes in Alight Motion a game changing feature that transforms ordinary projects into extraordinary visual stories.

As someone who’s transitioned from a struggling beginner to a proficient video editor, I can confirm that keyframe animations are an important factor behind truly impressive work. The Alight Motion Pro APK has become the best option for both novice and seasoned video editors seeking to elevate their craft. My journey from basic transitions to complex motion graphics taught me that mastering these concepts will add value to your editing toolkit and open doors to becoming a full time Animation editor. This guide offers in depth knowledge covering both the basics and advanced functionality of keyframes, providing a complete pathway to pro level skills that will help clear any confusion you might have about this essential technique.
What is Keyframe Animation
Keyframe animation is the fundamental element and main component in creating motion graphics and stunning visual effects within the popular mobile video editing application Alight Motion APK. Think of keyframes as magical anchors that give you the freedom to control both the starting points and ending points of any animation. When I first discovered this feature in Alight Motion APK, it revolutionized my editing workflow by providing detailed control over how my composition evolves.
The true power of keyframe functionality lies in its ability to adjust elements at specific moments in time as your creation unfolds. You can alter various elements including rotation, position, opacity, and scale with precision. Let me share a practical example—imagine animating a ball to bounce across the screen. You would mark key positions, determine the speed, and select the type of motion such as Linear, Ease-in, Ease-out, or Ease-in-out to create realistic movement. Mastering this basic concept requires developing a solid grip on the basics, but once you do, you’ll excel at creating animations that enhance the quality of your audiovisual projects. The keyframe animations in Alight Motion truly help editors transform simple ideas into dynamic visual stories with surprising ease.
Types of Keyframes in Alight Motion
There are different types of keyframes, each designed for a specific purpose. Let’s explore some of the most commonly used keyframe types:
Hold Keyframes
There are many Keyframes in Alight Motion but this is my fvrt keyframe. Working with hold keyframes transformed how I approach static sections in my animations. They hold and keep animation properties the same until the keyframe ends or the next keyframe begins. When I need to create sudden changes in rotation or position, these are my preferred choice. Last week, I used them for a text reveal that needed to snap into place rather than slide the effect was precisely what my client wanted!

Linear Keyframes
Linear keyframes are my go to when I need elements to change at a constant rate and create a smooth transition between two states. Remember that bouncing ball animation I mentioned earlier? I achieved that realistic motion using linear keyframes. Each bounce followed a predictable path, which made the physics feel right, though sometimes the rigid movement can cause an unnatural feel in more organic animations.
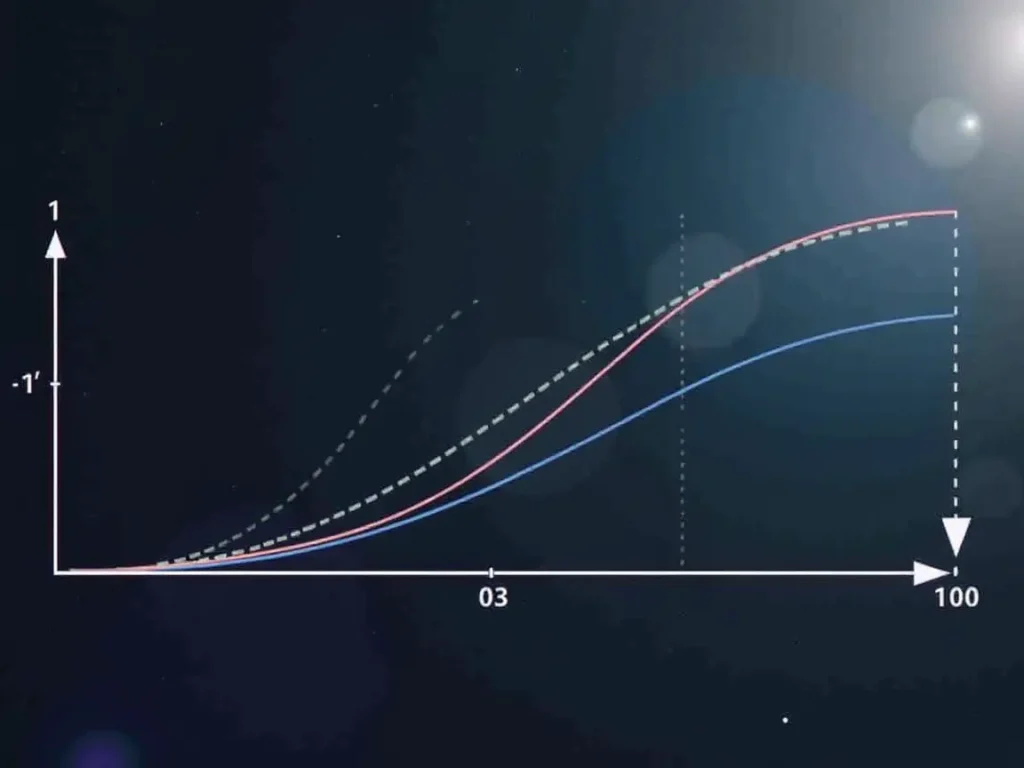
Easing Keyframes
For a smoother experience that mimics real world physics, I rely on easing keyframes. Instead of altering at a flat pace, these adjust at an increasing or decreasing rate. In my opinion, they create a more natural feel than linear options. There are 3 main types of easing animations:
Ease in
Ease in, which starts slowly and increases in speed like a rocket flying, is perfect for objects leaving the screen.
Ease Out
Ease Out start rapidly and then reduces speed to stop, like a train arriving at a station, ideal for elements moving into the screen.
Ease in Out
Ease In Out starts slow, speeds up, then slows down to stop. I use this constantly for objects that move from one place to another within the frame.
Position Keyframes
Position keyframes have revolutionized how I animate objects. They allow me to move elements across the screen by simply defining a start point and destination. The resulting transition can follow horizontal, vertical, or custom path movements. Just yesterday, I used position keyframes to animate a logo sweeping across the screen while following a curved path something that would have been impossible without this specific purpose keyframe type in my projects.
Opacity Keyframes
Opacity keyframes are ideal for creating fade-in and fade-out effects in your animation process. By adjusting opacity values between keyframes, you gain precise control over how visible an element is at any given moment. I frequently use these to create subtle fades and transparency effects that guide the viewer’s eye. The various types of fade techniques possible with opacity keyframes have become essential to how I establish visual hierarchy in my main types of commercial work.
Rotation and Scale Keyframes
Rotation and scale keyframes offer incredible creative possibilities. The rotation option lets you rotate elements around their axis, while scale lets you adjust their size over time. These are perfect for adding dynamism to otherwise static elements. When elements grow, shrink, or change size according to your scene’s design, they create visual interest that keeps viewers engaged. I often combine rotation with scale for logo reveals starting small and spinning before expanding to full size for maximum impact.
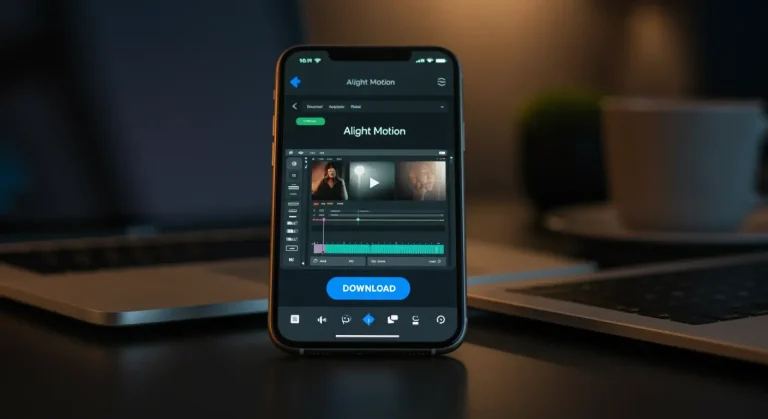
How to use Keyframes in Alight Motion
These steps help you to create Magic with Keyframes in Alight Motion
- Open the Alight Motion APK on your phone and select an existing project or create a new project.
- Tap on the element or layer you want to animate, then select the “move and transform option from the multiple options to access the keyframe editing options.
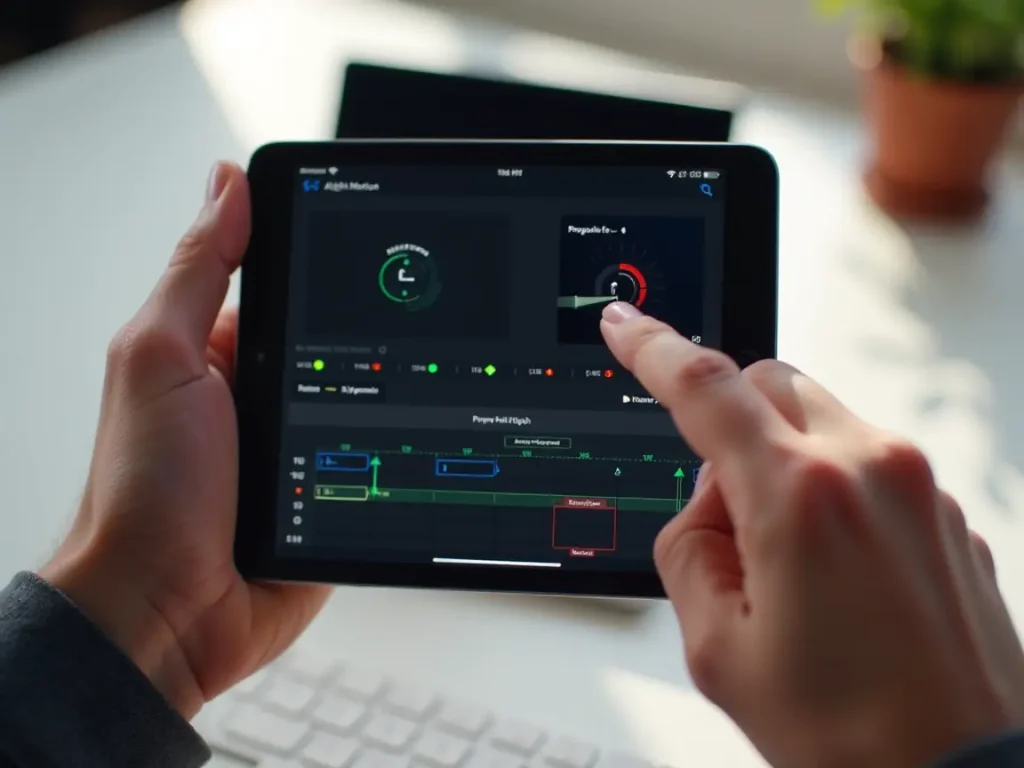
- Navigate your time marker to the starting point of your motion and tap the diamond shaped icon that represents keyframes to mark this position.
- Move the playhead further down the timeline to your desired endpoint and tap the diamond icon again to set a second keyframe.
- Select the type of keyframe (linear, easing, etc.) and set your required value for properties like position, scale, or rotation.
- Look for the stopwatch icon next to each property, then transform the layer to your desired new state.
- Scrub through to preview animation and use the animation editor menu to select, move, copy/paste, or precisely delete keyframes as needed.
- Build up complex animations across various layers, letting your creativity run wild.
- Save your work and export it in any available format to share with others via multiple sharing methods.
Though it might seem difficult at first, these steps make it easy to create amazing animations by using Keyframes in Alight Motion!
Why use Keyframes in Alight Motion?
In today’s digital landscape, animations form essential parts of visual content that effectively convey your message to your audience in a creative way. While there are plenty of keyframes in Alight Motion presets available to Alight Motion users, truly wanting to excel in this field and make a name for yourself requires.
you to learn how to use keyframes in the Alight Motion APK. As someone who’s spent years perfecting motion graphics, I’ve found that mastering these advanced features separates amateurs from professionals.What makes Keyframes in Alight Motion so powerful? Using this technique to create content that stands out from others gives you complete control over your animation dynamics.
You can decide exactly how your work is presented to viewers. When creating something unique that’s not available in standard Alight Motion Presets, having good knowledge of keyframe basics becomes invaluable.I’ve personally developed highly engaging videos by adding smooth effects to my animations and fine tuning various factors like tone, opacity, and speed to craft a truly unique piece of work.
The flexibility to build custom text animations and incorporate animated text into projects has consistently helped me improve user engagement across client campaigns. This precise control is why I believe Keyframes in Alight Motion are the secret weapon for any serious motion designer.
Tips and Tricks for Keyframe Animation
Save time and boost your creativity with these simple keyframe tips during use Keyframes in Alight Motion:
- Plan in advance by creating a storyboard to visualize your animation. Sketch motion paths or choreography ideas—this helps deliver your vision clearly before touching the timeline.
- Use keyboard shortcuts to speed up your workflow. When you memorize them, it naturally boosts productivity and preserves creative flow as you’re not constantly switching tools.
- While setting keyframes, keep your playhead moving smoothly. This helps you stay in rhythm when creating timed animations that feel organic.
- Enable onion skin to preview previous and next frames. This is a huge help for adjusting movement precisely, especially when animating characters or complex elements.
- Use group keyframes to select, group, move, or delete multiple keyframes together. It’s great for maintaining relative timing and simplifies complex animations.
- Ease selected keyframes using the easy ease selected keyframes button. It’s a major time saver and adds professional smoothness when applied simultaneously to different keyframes.
- Set defaults to configure default ease in/out values. Doing this for all new keyframes saves you from manually setting curve types, helping accelerate workflow.
- To sync motion with sound, animate to audio by watching waveforms. These act as the perfect reference point for placing keyframes tied to audio, which really brings motion to music.
- Save and reuse animations by converting complex keyframe animations into animation presets. This allows for instant reuse in future projects and helps you build a library over time.
- Leverage parenting so that layers follow the parent layer’s position, rotation, and scale. It simplifies rigging characters and when used with the right techniques, can cut animation time in half.
By internalizing tips for Keyframes in Alight Motion, like these and committing to regular practice, you’ll naturally take your keyframing skills to the next level and unlock new creative freedom in every play. After all Keyframes in Alight Motion is a good opportunity for us.
Advanced Keyframing Techniques in Alight Motion
Ready to move beyond the basics? Let’s explore some advanced keyframing techniques that will seriously level up your animations in Alight Motion by using Keyframes in Alight Motion.
Complex Motion Paths
Create intricate motion paths by using multiple keyframes to control position and rotation. This lets your elements follow interesting trajectories imagine an airplane looping through the sky or a car driving along winding roads. Setting this up is a breeze in Alight Motion!
Custom Bezier Curves
Go beyond default easing curves by creating fully custom curves with bezier handles. This gives you unique animation styles perfectly tailored to your vision. I’ve found getting creative with these curves can transform ordinary movements into something spectacular.
Animation Timing Techniques
Try animating on threes or fives an old school Disney technique where you place keyframes every third or fifth frame for a charming hand-animated feel. Works wonders for character animation! I’ve used this approach countless times when aiming for that nostalgic animation vibe.
Physics Based Animations
Add lifelike overshoot by creating brief keyframes that exceed your intended end values. This creates natural bouncy animations as elements settle into position, mimicking real physics. The subtle movement this creates feels incredibly natural to viewers. Use Keyframes in Alight Motion to make physics based animations.
Layered Animation Timing
Create interesting complexity through stagger and overlap by offsetting keyframes across different layers. This prevents all animations happening simultaneously and adds depth to your project. I’ve found this especially effective when animating text elements.
Stylized Movement
Don’t be afraid to take realistic motions and exaggerate them to new extremes just use this Keyframe in Alight Motion. Use extreme keyframes and curves to push the boundaries of what’s possible. The most memorable animations often break reality in creative ways!
Audio Synchronization
Sync keyframes with audio waveforms to create perfect audio reactive animations. Great for music visualizers and lyric videos! I recently created a beat synced logo animation that clients absolutely loved because of this technique.
Remember to test these techniques as you discover how to stretch Alight Motion’s animation tools to their limits. Your only limit is your imagination!
Troubleshooting Common Keyframe Issues in Alight Motion APK
When your animations don’t look right, try these quick fixes:
- If animations feel uneven or irregular, try to improve the properties or settings you have used for Easing keyframes consider switching from linear keyframes to easing keyframes for smoother motion.
- If animations feel slow or laggy, this typically happens when keyframes are placed far apart try to place more keyframes at regular intervals to get a snappy feel to your animation.
- If Keyframes in Alight Motion aren’t responding to edits, this could indicate a layer lock issue Check if your layer is accidentally locked in the timeline, preventing keyframe adjustments, or try clearing the cache in Alight Motion’s settings and restarting the app.
- If animations jump unexpectedly between positions, you likely have conflicting keyframes or missing interpolation. Carefully check your timeline for overlapping keyframes and ensure proper transition curves are applied between all animation points.
Conclusion
Mastering keyframes in Alight Motion unlocks endless creative possibilities that transform ordinary projects into captivating visual stories. From basic animations to advanced techniques like custom bezier curves and audio synchronization, these skills separate amateur work from professional productions. Though challenges may arise, the troubleshooting tips provided will help you overcome common issues and refine your animations. With practice and persistence, you’ll develop an intuitive understanding of motion design that will elevate your work and open new doors in the competitive field of video graphics. Remember, Keyframes in Alight Motion, your imagination truly is the only limit.
Top 10 FAQs Keyframes in Alight Motion
What are keyframes in Alight Motion?
Keyframes mark animation start and end points, controlling how elements move or transform over time.
How do I add a keyframe in Alight Motion?
Select a layer, move the playhead, and tap the diamond icon to insert a keyframe.
What are easing keyframes?
Easing keyframes adjust animation speed gradually for smoother, more natural motion.
What is the difference between linear and hold keyframes?
Linear keyframes animate at a constant rate; hold keyframes keep the property unchanged until the next keyframe.
Can I animate text with keyframes?
Yes, you can animate text position, scale, opacity, and rotation using keyframes.
How do I make animations smoother in Alight Motion?
Use easing options or custom bezier curves to smooth transitions between keyframes.
Why aren’t my keyframes working?
Check if the layer is locked or if you’ve set the wrong property or keyframe type.
Can I copy and paste keyframes?
Yes, you can select multiple keyframes and use copy/paste for faster workflow.
How do I sync animations with audio?
Use the audio waveform as a reference and place keyframes aligned with beats or sounds.
What are advanced keyframe techniques in Alight Motion?
Custom motion paths, bezier curves, layered timing, and physics-based overshoot effects.